Sunday, June 14, 2009

It's the little details that make can difference

Often while sharing my albums with friends they ask "How do you get such good photos?" Well...I take a lot of pictures. Sometimes 60 at one game. By time you go through & delete blurred, missed shots & out of focus pictures your number of photos will be significantly diminished! I have found that to get that "just perfect" shot you have to keep clicking!
To get a lot of photos on one page cut them all the same size & film strip mat them. The same size photo gives the page a visual that is easy to read even though there is a lot to take in on it.
Posted by Picasa
Using the stamp set "Best Shot" I made the embellishments on these pages. Barn Red & Black ink stamped & distressed onto Bamboo CS are the colors shown. Stamp your images, cut them out & edge distress. Apply them to your page with pop dots for dimension or use fun embellishments that go with your theme or colors.
"LASSO night at the game" was created with one of my favorite tools...my label maker. Using clear label tape, type in what you want to say, peel it off & put it over (already edge distressed)CS. It's a quick easy way to journal and/or add a date, time or place to your layouts. Give it a try & let me know how it works for you!
Happy Scrappin!
Jolene

Tuesday, June 9, 2009

Using stickers on your layouts


Posted by PicasaI found a set of soccer stickers (Yes...stickers!) Those of you who have scrapped with me know that I don't usually care for stickers. One tip to using them is not to just "plop" them on a page as an embellishment. Before adding the stickers to white chipboard I punched circles out in bamboo CS the same size as the chipboard & edge distressed the CS with matching ink colors, the stickers are actually a little smaller than the chipboard. But the look is perfect. I love using chipboard, it adds dimension & pop to my pages. Plus you can do so many techniques with it. You can paint it, ink it, stamp on it, cover it with paper, add stickers & other embellishments to it & more!
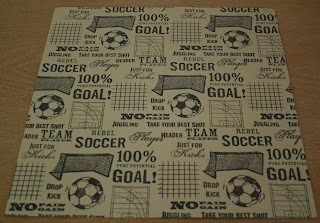
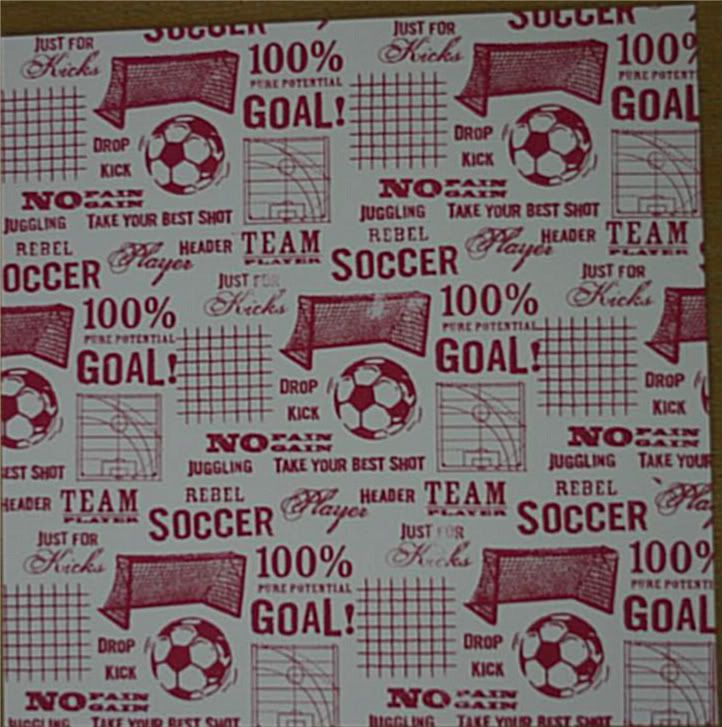
The soccer paper was stamped with "Best Shot" & distressed with black & barn red ink onto bamboo CS. Here's a picture of the stamped page before distressing. After choosing a layout I cut the CS into the sizes needed & distressed each piece separately.


"Catch some air" is also a sticker from the same set. One of my favorite kind, (That is if I have to use stickers!) it is clear, so when you apply it, the color of your background paper shows through. Having already picked a matching CS & distressing & matting it to match the page makes the sticker look like it belongs to the layout. Not to mention putting it next to a picture were my son is definitely getting some "air"! I love this photo! Jimmy plays with such intensity. He does not like to lose & does his best to help his team to a win.

Just a couple of more hints. Placing the "catch some air" sticker a little over the picture pulls the embellishment onto the layout instead of making it look like it was "plopped". The open spot on the diamond paper is were journalling can placed. The Barn Red CS is also stamped & distressed. I used film strip matting with the photos, it saves a lot of time & looks great.

Thursday, June 4, 2009

Clustering embellishments

Photobucket
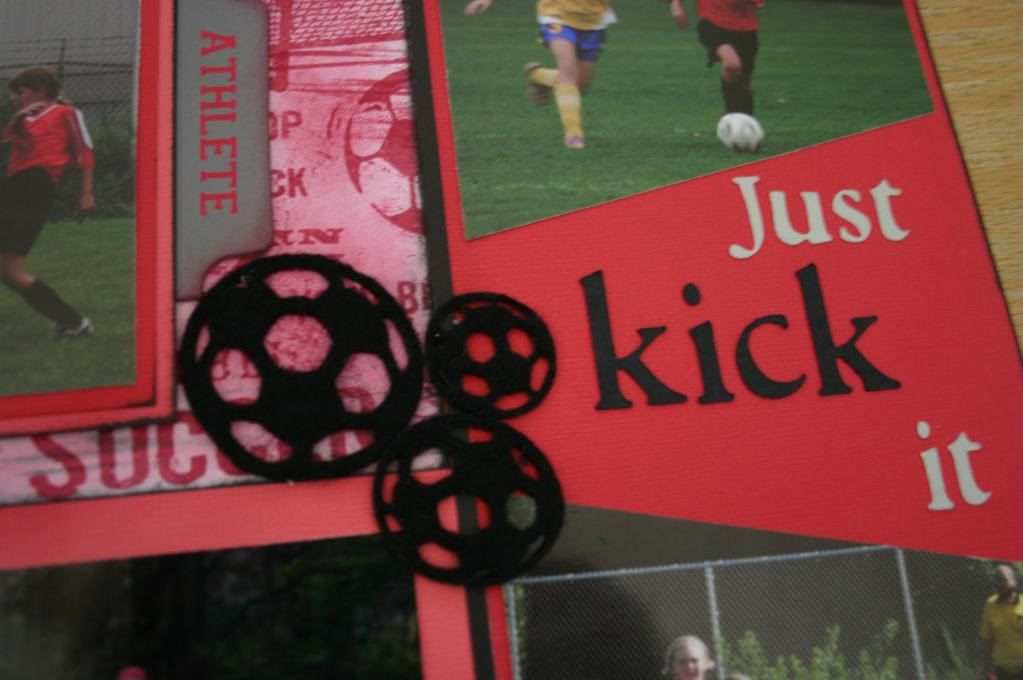
Cutting the soccer balls apart & clustering them carries the theme throughout the layout.

Stamped soccer pages

Photobucket

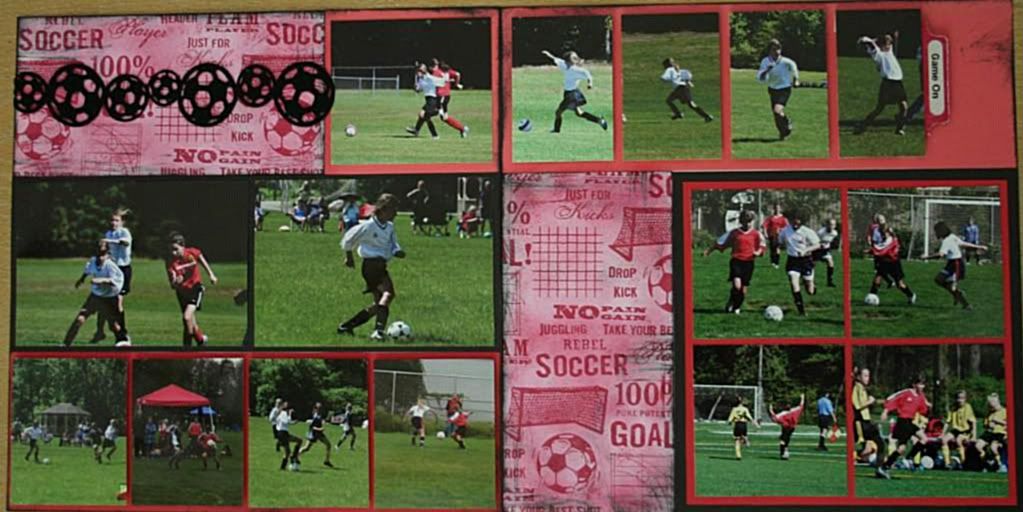
This is what the Stamped CS looks like after I've distressed it with hollyhock & black ink.
Photobucket
Just plain white daisey CS stamped with "Best Shot". Look how much it changed the look when I added hollyhock & black ink. I love to distress & have a really hard time using paper with a white background. Adding color with stencil brushes or a sponge really pulls the look together as shown on the scrapbook pages.

Love these felt soccer balls. I cut them apart & placed them on my pages. This gives you a close up of distressing with ink & stencil brushes.